Pneumatic Ball Valve Installation Guide for Beginners Step by Step

What Is a Valve: A Complete Guide to Types, Parts, Functions, and Selection
Dec 26, 2025
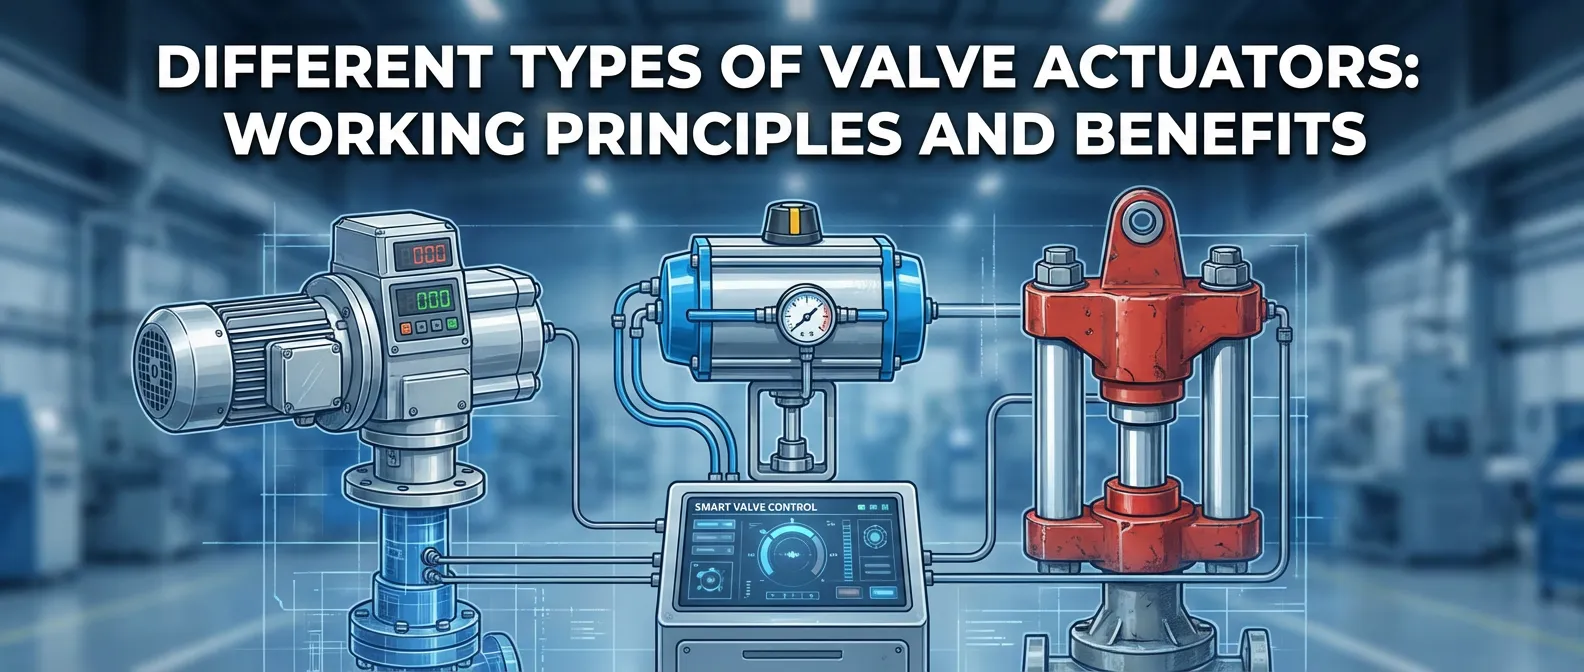
Different Types of Valve Actuators Working Principles and Benefits
Nov 29, 2025
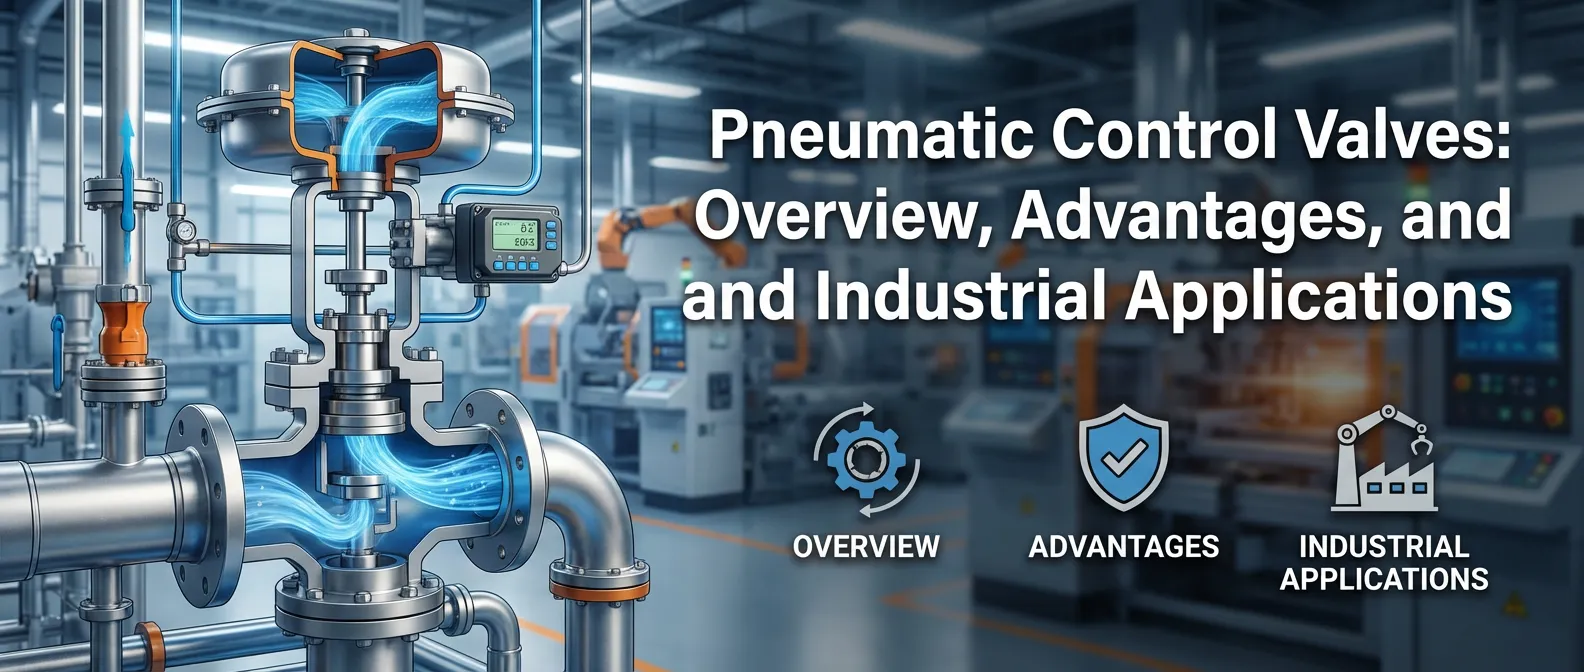
Pneumatic Control Valves Overview Advantages and Industrial Applications
Nov 29, 2025
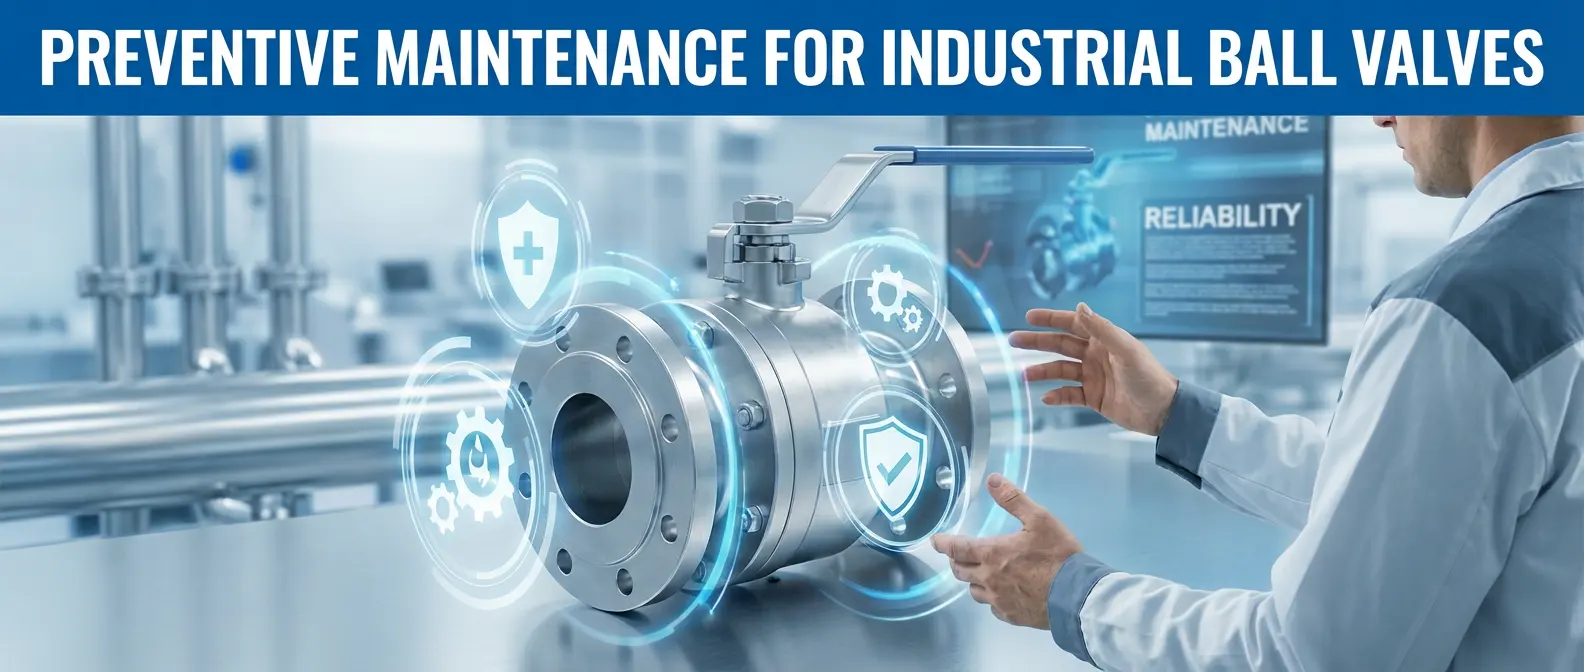
Ball Valve Maintenance Guide Preventive Routine Procedures 2026
Nov 29, 2025
Learn how to install a pneumatic ball valve step by step with beginner-friendly tips on tools torque settings air connections and leak testing.
Before You Start: Safety & Preparation
Alright, before you dive into installing your pneumatic actuated ball valve, let’s put safety first. Here’s what you need to know:
Personal Protective Equipment (PPE) Required
Always gear up with the right PPE:
- Safety glasses to protect your eyes from flying debris
- Gloves suitable for handling metal parts and compressed air tubing
- Hearing protection if you’re working in a noisy environment
- Steel-toe boots if you’re in an industrial setting
- Don’t skip this step—you want to stay safe and comfortable.
System Depressurization and Lockout/Tagout Procedures
Never work on a pressurized system. Before you start:
- Shut off all air supply to the valve system
- Depressurize the pipeline completely—bleed out trapped air safely
- Follow lockout/tagout (LOTO) procedures to ensure no accidental startup
- Double-check pressure gauges to confirm zero pressure
This prevents accidents and damage to your valve or tools.
Verify Compatibility: Pipe Size, Pressure Rating & Actuator Type
Before installing, make sure everything fits:
- Check your pipeline’s diameter matches the valve’s pipe size
- Confirm the system’s pressure doesn’t exceed the valve’s rated pressure
- Identify the actuator type—double-acting or spring-return (single-acting)—so you install and connect air lines correctly
- Getting this right means your valve will work flawlessly from day one.
Tools and Materials You’ll Need for Pneumatic Ball Valve Installation
Before you begin installing your pneumatic actuated ball valve, gather all the necessary tools and materials to make the process smooth and efficient. Here’s a quick checklist of what you’ll need, including recommended DELCO part numbers where applicable:
- Adjustable wrench and socket set
- Torque wrench (essential for correct bolt tightening)
- Pipe cutter and deburring tool
- Thread sealant or PTFE tape (for threaded connections)
- Gaskets and seals (make sure they match the valve size and material)
- Mounting bracket and coupling kit (DELCO compatible)
- Tubing for compressed air (recommended sizes: 1/4″ or 3/8″)
- Air filter, regulator, and lubricator (FRL) unit for air supply conditioning
- Screwdrivers and Allen keys (for actuator and solenoid adjustments)
- Multimeter (if wiring the solenoid valve)
Recommended DELCO parts:
- DELCO DK66 Pneumatic Sanitary Tri-Clamp Ball Valve (great for sanitary applications)
- Mounting kits and actuator couplings tailored for DELCO models can be found on their site
- Compatible solenoid valves like the DELCO 2W PVC Direct-Acting Plastic Solenoid Valve help with integration
Torque Wrench Settings Table for DELCO Models:
| Bolt Size | Torque (ft-lbs) | Torque (Nm) |
|---|---|---|
| M6 | 8 – 10 | 10.8 – 13.6 |
| M8 | 18 – 22 | 24.4 – 29.8 |
| M10 | 35 – 40 | 47.5 – 54.2 |
| M12 | 55 – 65 | 74.5 – 88.1 |
Following these torque settings is crucial to avoid overtightening, which can damage the valve or actuator mounting.
Having these tools and materials ready upfront saves time and helps ensure a proper pneumatic actuator mounting and valve installation. For more detailed product options, check out DELCO’s range of pneumatic valves and accessories.
Step-by-Step Installation Guide
Installing a pneumatic ball valve doesn’t have to be complicated if you follow these clear steps. This guide covers everything from unboxing to final testing, ensuring your valve works reliably in your system.
Unboxing and Component Inspection
Start by carefully unboxing your pneumatic actuated ball valve. Check all components, including:
- Valve body
- Pneumatic actuator (double-acting or spring-return)
- Mounting kit
- Solenoid valve (if included)
Look for any visible damage like cracks, dents, or corrosion. If anything seems off, don’t install it—contact your supplier right away. This step helps avoid unexpected failures later.
Pipeline Preparation
Prepare your pipeline before installation:
- Clean and deburr pipe ends to avoid damage to the valve seats.
- Align pipes properly to reduce stress on the valve; support the piping to prevent sagging.
- Know the difference in connection types:
- Flanged connections require precise gasket placement.
- Threaded connections need proper sealing tape or compound.
Proper preparation prevents leaks and ensures smooth valve operation.
Mounting the Actuator to the Ball Valve
Most pneumatic actuated ball valves follow the ISO 5211 mounting pattern, making actuator mounting straightforward:
- Attach the actuator using the correct mounting bracket and coupling.
- Tighten mounting bolts to specified torque values—refer to the torque table for DELCO actuators to avoid overtightening or loosening during operation.
Securing the actuator correctly ensures reliable valve control and extends the life of the actuator.
Installing the Valve into the Pipeline
Next, install the valve into your pipeline:
- Select the proper gasket or seal for your application and place it correctly to ensure a tight seal.
- When tightening flange bolts, use a star pattern sequence to distribute pressure evenly.
- Follow torque specifications based on valve size to avoid leaks or flange damage.
These steps help create a maintenance-friendly and leak-proof installation.
Connecting the Compressed Air Supply
For air supply connections:
- Use recommended tubing size and materials, typically flexible polyurethane or nylon.
- Choose fitting types wisely: push-to-connect fittings are quick and reliable; NPT fittings may require sealing compound.
- Include an air filter, regulator, and lubricator (FRL) to keep your pneumatic actuator running smoothly.
- Ensure supply pressure matches DELCO actuator requirements, usually between set minimum and maximum limits—overpressure can damage the actuator.
Proper air supply setup is critical for valve performance.
Wiring the Solenoid Valve (If Applicable)
If your pneumatic ball valve includes a solenoid, wiring must be done carefully:
- Choose the right voltage: 24V DC, 110V AC, or 220V AC.
- Follow NAMUR standard mounting for solenoid valves when applicable.
- Use a simple wiring diagram to connect power safely, and always turn off power during wiring.
Proper wiring ensures reliable valve activation and operator safety.
Setting Stroke and Limit Switches
Fine-tune valve operation by adjusting:
- The manual override for emergency control.
- The stroke from 0° to 90° to match your system requirements.
- Limit switches to confirm open and closed positions precisely.
Correct adjustment prevents valve misoperation and system downtime.
Following this step-by-step installation guide will help you avoid common pitfalls and get your pneumatic actuated ball valve up and running efficiently. For those interested in pneumatic valves designed for specific applications, check out DELCO’s range like the pneumatic UPVC wafer butterfly valve for chemical systems.
Step-by-Step Installation Guide: Unboxing and Component Inspection
Start by carefully unboxing your pneumatic actuated ball valve kit. Check all main parts: the actuator, valve body, mounting bracket, coupling, and the solenoid valve if included. Make sure each component matches your order in size and type.
Next, do a visual damage inspection:
- Look for scratches, dents, or cracks on the valve body and actuator.
- Check the mounting kit for any bent or missing parts.
- Verify that the solenoid coil isn’t cracked and that wiring terminals are intact.
- Confirm all seals and gaskets are present and undamaged.
Damaged parts may lead to leaks or malfunction, so don’t skip this step. If you’re working with DELCO models, keep an eye out for proper labeling and part numbers to ensure compatibility. Taking your time during unboxing prevents surprises later when you install the valve in your pipeline.
Pipeline Preparation for Pneumatic Ball Valve Installation
Before installing the pneumatic actuated ball valve, proper pipeline preparation is crucial for a smooth fit and reliable operation.
- Clean and Deburr Pipe Ends: Remove all debris, dirt, and rust from pipe ends. Use a deburring tool to smooth any rough edges inside and outside the pipe to prevent damage to seals and ensure a tight fit.
- Correct Pipe Alignment and Support: Align pipes precisely with the valve body to avoid stress and leakage. Use pipe supports or hangers to keep the pipeline stable and prevent movement that could loosen connections over time.
- Flange vs. Threaded Connection Differences: Flanged connections offer easier installation and removal, especially for larger valves or where frequent maintenance is expected. Threaded connections are more common in smaller-size pipes but require careful sealing with tape or compound. Ensure gasket compatibility and correct bolt torque for flange joints to avoid leaks.
Proper pipeline prep extends the life of your pneumatic valve and reduces troubleshooting later. For valves with special connection types, you might compare the options on various valve models such as the DK55-3PL electric UPVC ball valve to find the best fit for your system.
Mounting the Actuator to the Ball Valve
When mounting the pneumatic actuator to the ball valve, it’s important to follow the ISO 5211 mounting standard. This ensures the actuator fits perfectly with the valve, maintaining proper alignment and reliable operation.
ISO 5211 Mounting Pattern
- The ISO 5211 standard defines bolt hole sizes, patterns, and flange dimensions for easy actuator to valve mounting.
- Always verify that your DELCO actuator and ball valve comply with this standard to avoid mismatches.
- Check the mounting flange position on both the actuator and valve to make sure holes line up before assembly.
Bracket and Coupling Installation
- Start by attaching the correct mounting bracket provided in the DELCO kit.
- Secure the coupling between the actuator shaft and valve stem. This connection must be snug but not forced.
- Ensure the actuator shaft and valve stem move smoothly together without binding or play.
Bolt Torque Values for DELCO Models
Use the following torque settings for mounting bolts to avoid damage or loosening during operation:
| Valve Size (in) | Bolt Size | Torque (ft-lbs) |
|---|---|---|
| 1/2″ – 1″ | M6 | 10 – 12 |
| 1 1/4″ – 2″ | M8 | 20 – 25 |
| 2 1/2″ – 3″ | M10 | 35 – 40 |
| 4″ and above | M12 | 50 – 55 |
- Always use a calibrated torque wrench and tighten bolts in a crisscross pattern for even pressure.
- Avoid overtorquing to prevent damage to the actuator bracket or valve mounting flange.
Following these steps ensures your DELCO pneumatic actuated ball valve is properly mounted for smooth, safe performance. For compatible actuator options and mounting kits, check DELCO’s range of pneumatic actuated valves.
Installing the Valve into the Pipeline
When installing your pneumatic ball valve into the pipeline, proper gasket and seal selection are crucial to prevent leaks. Use materials compatible with your media and pressure, such as PTFE or rubber gaskets for most applications. Make sure the gasket sits evenly between the flange faces or threaded connections.
Follow the bolt tightening sequence carefully—always use a star or cross pattern to ensure even pressure on the gasket. This prevents warping and ensures a tight seal.
Bolt Tightening Sequence:
- Tighten bolts in a crisscross/star pattern
- Start with a light torque, then gradually increase in stages
- Avoid fully tightening one bolt before moving to the next
Torque Specifications (based on valve size):
| Valve Size (inches) | Bolt Torque (ft-lbs) |
|---|---|
| 1/2″ – 1″ | 15 – 20 |
| 1-1/4″ – 2″ | 25 – 30 |
| 2-1/2″ – 4″ | 35 – 45 |
Be sure to check your valve’s technical specs for precise torque values, especially for DELCO pneumatic ball valves. Proper torque helps avoid leaks and maintains the valve’s integrity during operation.
For more detailed bolt torque information and to ensure proper valve fit, check out DELCO’s pneumatic actuator and valve mounting guidelines available on their website. This helps ensure you’re aligning the actuator correctly when the valve is fully installed.
Connecting the Compressed Air Supply
Properly connecting the compressed air supply is crucial for pneumatic ball valve operation. Here’s what you need to know:
- Tubing Size & Material: Use tubing that matches the actuator’s inlet size—typically 1/4” or 3/8” OD is common. Materials like polyurethane or nylon offer flexibility and durability, while copper or stainless steel tubing works best in high-temp or corrosive environments.
- Fitting Types: Push-to-connect fittings simplify installation and maintenance, perfect for quick connections without tools. NPT threaded fittings provide secure, leak-proof joints but require thread sealant and proper torque.
- Air Filter, Regulator, Lubricator (FRL): Always install an FRL unit upstream. It cleans moisture and particles, regulates pressure, and lubricates the actuator to extend its life. This step avoids premature wear and keeps performance steady.
- Supply Pressure Range: For DELCO pneumatic actuators, maintain a supply pressure between 60 to 100 PSI. Never exceed the maximum pressure rating to prevent damage or unsafe conditions.
Following these tips ensures reliable valve action and longer service life for your pneumatic actuated ball valve.
For related valve solutions, check out DELCO’s range including the compact DK60-B Series brass motorized ball valve, ideal for air and water applications.
Wiring the Solenoid Valve (if applicable)
If your pneumatic ball valve comes with a solenoid valve, proper wiring is crucial for safe and reliable operation. Most solenoids support common voltages like 24V DC, 110V AC, and 220V AC, so first confirm the voltage rating on your unit before wiring.
NAMUR Solenoid Mounting
DELCO solenoid valves are often designed for NAMUR mounting, which means the solenoid snaps right onto the actuator with standardized fittings, making installation straightforward. Just ensure the solenoid is aligned properly for the best connection and avoid forcing parts to prevent damage.
Simple Wiring Tips
- Use wire gauge suited to your solenoid voltage and current specs—typically 18-22 AWG for low voltage DC.
- Route wires away from sharp edges and heat sources.
- Connect the positive and negative leads correctly; reversing polarity can damage some solenoids.
- Ground the system properly if your model requires it.
Here’s a basic wiring overview:
| Voltage | Wiring Notes |
|---|---|
| 24V DC | Polarity sensitive; use DC-rated cables |
| 110V AC | Polarity usually not critical; use rated AC wiring |
| 220V AC | Ensure correct phase and neutral; follow local electrical codes |
Safety Notes
- Always turn off power and disconnect compressed air before wiring.
- Follow local electrical codes and use proper PPE.
- Double-check all connections before powering up.
- If unsure, hire a qualified electrician.
Proper wiring of the solenoid valve controls your pneumatic ball valve’s open/close function efficiently and ensures long-term reliability without unexpected failures. For an example of integrated pneumatic ball valve designs with solenoids, check DELCO’s pneumatic jacketed ball valve series.
Setting Stroke and Limit Switches
Once your pneumatic ball valve and actuator are securely installed, the next step is setting the stroke and adjusting the limit switches to ensure precise open and closed positions.
Manual Override Procedure
Most pneumatic actuators include a manual override, allowing you to operate the valve by hand during setup or emergencies:
- Locate the manual override knob or lever on the actuator.
- Engage the manual control to turn the valve between fully open (90°) and fully closed (0°) positions.
- This helps verify the valve mechanically responds before applying air pressure.
Adjusting Stroke from 0° to 90°
Proper stroke adjustment guarantees the ball valve fully opens and shuts without strain:
- Access the actuator’s stroke adjustment screws or cams, usually located near the linkage.
- Using the manual override, slowly move the valve to the open position.
- Adjust the “open” limit switch so the actuator stops precisely at 90°, ensuring a tight seal.
- Repeat the process for the closed position, setting the “closed” limit switch to 0°, confirming the valve fully seats.
- Keep in mind DELCO actuators offer clear settings for double acting or spring-return configurations to match your valve’s operation.
Fine-Tuning Open/Closed Positions
Fine-tuning eliminates leaks and wear caused by misalignment:
- Test valve operation under compressed air supply.
- Observe if the valve fully opens and closes with no unusual noise or resistance.
- Slightly adjust the limit switches if you spot any drift or incomplete strokes.
- Once confirmed, tighten all adjustment screws securely.
Correct stroke and limit switch setup maximize valve life and performance, helping you avoid common issues like incomplete sealing or actuator overtravel.
For detailed actuator models and mounting options, check out the DELCO spring return pneumatic actuator page for fail-safe configurations.
Testing & Commissioning
After installing your pneumatic ball valve, thorough testing and commissioning are essential to ensure everything works smoothly and safely.
Dry Cycle Test (No Media)
Start by operating the valve through several open and close cycles without any fluid or gas in the pipeline. This helps verify that the pneumatic actuator and ball valve move freely without sticking or unusual noises. Check the actuator response time and listen for any air leaks.
Pressure Leak Test Procedure
With the valve installed, pressurize the pipeline at working pressure. Inspect the valve body, seals, flanges, and connections for any signs of leakage. Use a soap solution or leak detector spray around joints and seals for easy visual detection of leaks. Tighten bolts following the recommended torque settings if necessary.
Full Stroke Test With Media
Once leak-free, start flow through the valve and cycle it fully open and fully closed under normal operating conditions. Watch for smooth operation and confirm that the valve seats properly without flow or pressure drop issues.
Verifying Fail-Safe Function
For spring-return actuators (single-acting), simulate air supply failure to confirm the valve returns automatically to its safe position (open or closed). This is critical for system safety and compliance. Check that limit switches and position indicators correspond correctly to valve status.
Following these test steps ensures your pneumatic actuated ball valve installation is reliable, leak-free, and ready for safe operation. Regular testing during commissioning can catch early issues before full-scale use.
Common Installation Mistakes & How to Avoid Them
Installing a pneumatic ball valve may look straightforward, but beginners often run into a few common traps that can affect performance or lead to premature failure. Here are the top 7 installation mistakes and how to dodge them:
- Overtorquing BoltsApplying too much torque can damage flanges, crush gaskets, or warp the valve body. Always use a calibrated torque wrench and follow the recommended torque values, like those specified for DELCO models.
- Wrong Air PressureSupplying air outside the actuator’s pressure range, either too low or too high, causes slow operation or actuator damage. Check the specs and install a proper air filter, regulator, and lubricator (FRL) to maintain consistent pressure.
- Misaligned PipingPoor pipe alignment stresses valve connections, causing leaks or actuator malfunction. Ensure pipes are clean, deburred, and supported well before installation, whether using threaded or flanged connections.
- Skipping System DepressurizationNot fully depressurizing the system before starting can be dangerous and damage components. Always follow lockout/tagout safety procedures and confirm the line is safe.
- Incorrect Actuator MountingUsing the wrong bracket, coupling, or ignoring the ISO 5211 mounting pattern results in actuator misalignment and poor valve operation. Use the correct mounting kit and torque the bolts to the specified settings.
- Improper Solenoid WiringWrong voltage or loose electrical connections cause solenoid failure or electrical hazards. Follow the wiring guidelines carefully for 24V DC or 110V/220V AC setups, and ensure tight, clean connections.
- Ignoring Limit Switch AdjustmentFailing to set proper valve open/closed stroke limits leads to incomplete valve travel or actuator strain. Use manual override and fine-tune the stroke for smooth, full-range operation.
Avoid these pitfalls for smoother installation and reliable pneumatic actuated ball valve performance. For detailed actuator mounting steps and troubleshooting tips, check out the DELCO pneumatic valve actuator with solenoid and limit switch.
Maintenance Schedule After Installation
Proper maintenance is key to keeping your pneumatic actuated ball valve running smoothly and avoiding costly downtime. Here’s a quick guide to what you should check and when after installation.
First 48 Hours Checks
- Inspect for any leaks around seals or connections.
- Confirm the actuator and valve cycle properly through a few full open/close operations.
- Check for unusual noises or vibrations during operation.
- Verify compressed air supply matches the recommended pressure range for your DELCO actuator.
Monthly and 30-Day Inspection Points
- Examine all bolted connections for signs of loosening or corrosion—retighten if needed using the correct torque values.
- Check pneumatic tubing and fittings for wear, cracks, or air leaks.
- Test the solenoid valve wiring and function if your setup includes one.
- Lubricate actuator moving parts if required by your model’s specifications.
- Ensure proper alignment of the valve and pipeline to prevent stress or premature wear.
Long-Term Lubrication and Seal Replacement
- Follow manufacturer guidelines for lubrication intervals to keep the actuator and valve components moving freely.
- Replace seals and gaskets every 1 to 2 years, or sooner if you notice leaks or pressure drops.
- Conduct a thorough performance test annually, including stroke and limit switch adjustments.
Regular inspection and timely maintenance help extend the life of your pneumatic ball valve and maintain peak performance. For detailed component compatibility and sealing options, check out the DK10 series pilot piston solenoid valves to complement your pneumatic valve system.
Troubleshooting Quick Reference Table
Here’s an easy guide to quickly fix common issues with your pneumatic actuated ball valve installation:
| Symptom | Possible Cause | Solution |
|---|---|---|
| Leakage around valve | Damaged or misaligned gasket/seal | Replace or correctly position gasket/seal |
| Flange or threaded connection loose | Retorque bolts in proper star pattern | |
| Slow valve operation | Low or inconsistent air pressure | Check and adjust air pressure within specs |
| Dirty or clogged actuator/filter | Clean air filter/regulator/lubricator (FRL) | |
| Actuator not moving | Air supply disconnected or blocked | Inspect air tubing and fittings |
| Faulty solenoid valve wiring | Verify wiring per voltage and solenoid specs | |
| Valve stuck halfway | Incorrect actuator mounting | Check actuator mounting bracket and coupling |
| Limit switches improperly set | Adjust stroke and limit switches | |
| Fail-safe doesn’t work | Wrong actuator type or settings | Confirm double-acting vs spring-return setup |
| Air supply failure | Test air supply and backup systems |
Regular checks and following proper torque settings will help you avoid most issues. For wiring solenoid valves or air pressure details, refer to the related guides on high-pressure solenoid valves to ensure compatibility and safety.
Share on Social:
Contact Us
In This Article
What Is a Valve: A Complete Guide to Types, Parts, Functions, and Selection
Dec 26, 2025
Different Types of Valve Actuators Working Principles and Benefits
Nov 29, 2025
Pneumatic Control Valves Overview Advantages and Industrial Applications
Nov 29, 2025
Ball Valve Maintenance Guide Preventive Routine Procedures 2026
Nov 29, 2025